Prerequiste
- add JWT token to service account
- add service account to Merchant API user
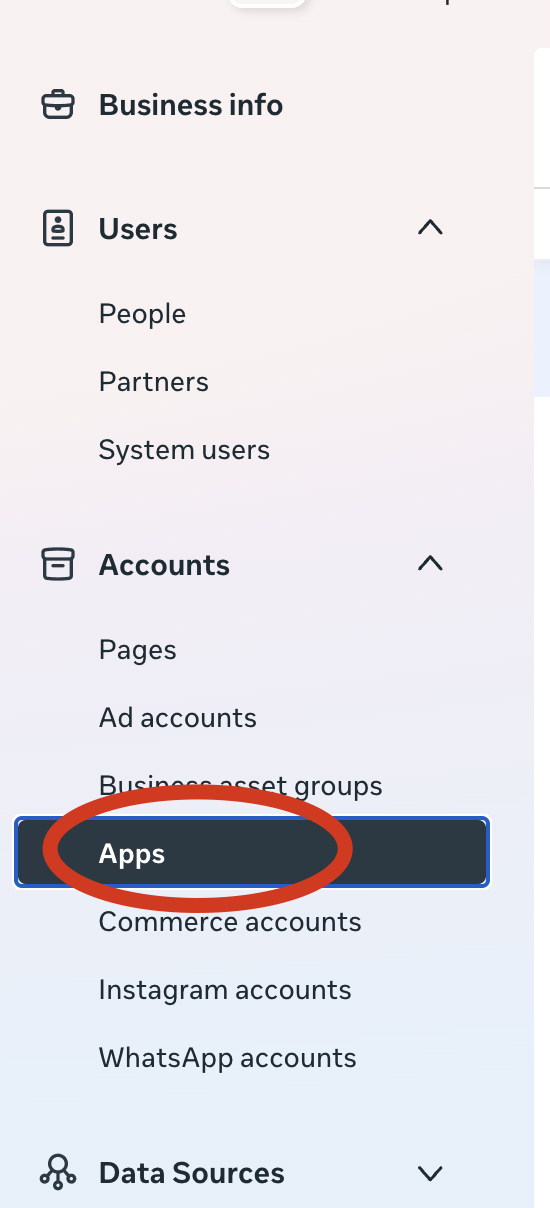
- set the service account as developer
- In Google Cloud Console enable Content API for Shopping for the project that owns the service account. Google for Developers
- In Merchant Center, get the numeric
merchantIdshown in the Merchant Center settings (you’ll pass this to API calls). Google for Developers
Create simple Node project
mkdir gmc-content-demo && cd gmc-content-demo
npm init -y
npm install googleapis google-auth-library @google-shopping/products
Put your service account JSON somewhere safe
Save your downloaded JSON key file as service-account.json (or set path via env var). Never commit it to source control.
Create insert-product.js file
// insert-product-input.js
'use strict';

const path = require('path');
const { GoogleAuth } = require('google-auth-library');
const { ProductInputsServiceClient } = require('@google-shopping/products').v1;

async function main() {
  const merchantId = 'MERCHANT_ID';           // e.g. "123456789"
  const dataSourceId = 'DATA_SOURCE_ID';       // feed/data source ID
  const offerId = 'sku-12345';
  const productId = `en~online~${offerId}`;        // language~label~offerId

  // Full resource name for product input
  const productInputName = `accounts/${merchantId}/productInputs/${productId}`;

  // Authenticate
  const auth = new GoogleAuth({
    keyFile: path.join(__dirname, 'service-account.json'),
    scopes: ['https://www.googleapis.com/auth/content']
  });

  const authClient = await auth.getClient();

  // Create client
  const client = new ProductInputsServiceClient({ authClient });

  // Product attributes
  const productAttributes = {
    title: "New Jacket Product (Inserted via API)",
    description: "A stylish jacket added using ProductInputsServiceClient.",
    link: "https://example.com/jacket",
    imageLink: "https://example.com/jacket.jpg",
    availability: "IN_STOCK",
    condition: "NEW",
    price: { amountMicros: 49900000, currencyCode: "USD" },
    gtin: ["9780007350896"],
    brand: "MyBrand"
  };


  // Build productInput
  const productInput = {
    name: productInputName,
    contentLanguage: 'en',
    offerId: "irrestistible-offer-12345",
    feedLabel: 'GB', // Check the feed label of the data source in the Merchant API account
    productAttributes
  };

  try {
    console.log("Inserting ProductInput…");

    const dataSource = `accounts/${merchantId}/dataSources/${dataSourceId}`;
    const parent = `accounts/${merchantId}`;

    const [response] = await client.insertProductInput({
      parent,
      dataSource,
      productInput
    });

    console.log("Product inserted successfully:");
    console.log(JSON.stringify(response, null, 2));

  } catch (err) {
    console.error("Insert failed:", err);
  } finally {
    if (client.close) await client.close();
  }
}

main().catch(err => {
  console.error("Fatal error", err);
});
Other examples
https://developers.google.com/merchant/api/samples/insert-product-input#node.js
In postman
You’ll need to generate a self signed JWT, you can use jwt.io to create the token
Follow the steps here:
https://docs.cloud.google.com/docs/authentication/token-types#sa-jwts
You can then use that JWT token that you pass in assertion header to get an access token that you can use to make your query with.